This post doesn’t contain any of my art. It is a write up of a watercolour class I attended in London run by the very talented Matt Forster. This is only the second time I’ve featured someone else’s art on here, the first being a guest appearance by Robert Ordever.
Equipment
Matt usually works with just five Winsor and Newton artist quality watercolour paints. Alazarin Crimson, Cadmium Yellow, Cobalt Blue, Cerulean Blue and Ultramarine Blue. He can mix any other colour he needs from these basic colours. The paint is mixed in wine glasses so as to allow sufficient quantity to be made up to finish a piece of work, and a syringe is used to add water to dilute.

Matt uses synthetic brushes, and large sheets of heavy weight paper, 450 gsm. He soaks the paper for at least an hour then sticks it to a thick mdf board using PVA glue and gumstrip before letting it dry for at least 24 hours. He then has a stretched, flat surface ready to paint on. The board with the paper attached then goes onto an old industrial easel – heavy and adjustable. This piece of kit reminded me of the drawing boards we used to use in school and in my first job as a draughtsman.
Tone and Contrast
We started looking at tone and contrast. Matt said that tone beats colour, and a good water colour should work well in black and white (you can check your own work by photographing then editing it on the computer). Matt took a large sheet of dry paper and on the left hand side he applied a blue wash to which he gradually added red, as he came down the paper. On the right side, he took the purple from the end of the previous wash (blue mixed with red) and diluted it as he came down the paper (leaving a small triangle of white paper on the way). On both sides, Matt worked down the page along straight horizontal lines because it’s the simplest, quickest way to create a wash over a whole/half page. He also made sure he moved quickly enough to ensure the paint didn’t dry on the page until the wash was finished. This ensures a smooth change of tone. Once the left hand side had dried, Matt added a darker shade of blue to create a mountain scape on the page. I didn’t photograph the picture before the mountains were added, but the gradation from blue to purple flowed nicely down the page.

Dry Brush Work
Matt then showed us some dry brush work techniques – useful for adding more detail. He suggested that three things are important when working this way. The pressure applied, the volume of paint and the speed of the brush. A quick movement can leave useful dragged brush strokes. as seen in the lower part of this photograph, and a mix of dabbles and lines reveals a tree.

Some dry brush work was added to both images, each layer a darker tone than the one before. The occasional white highlight is picked out afterwards using a scalpel and tweezers to score and carefully remove the top layer of paper.

Here are two close ups of the finished images.
Wet on Wet
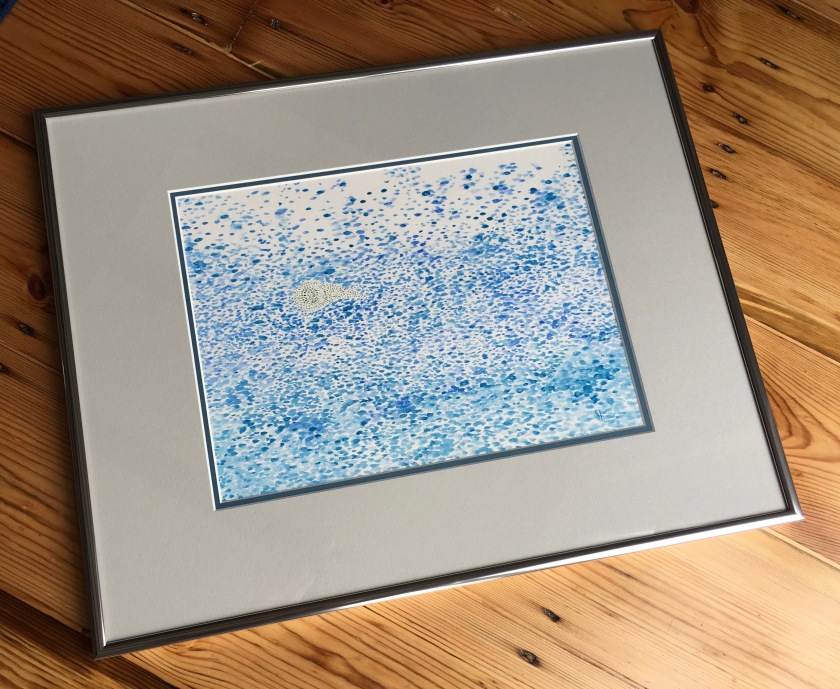
Next Matt showed us painting onto a wet surface. He took a large stretched sheet of dry paper and applied clean water to it using a syringe and a large brush. Moving really quickly he then added colours and we watched them blend and move through each other on the wet paper. Colours are lighter using this technique as the water on the paper dilutes the paint. You can get a sense of how the colours interact and flow into each other from this close up. Matt left some of the paper towards the top of the image dry, and these dry white areas became sunlight striking the clouds as the picture developed.

Matt worked at pace to finish the background before drying the paint using a hairdryer and carrying on – this time using some dry brush work to add the house and some foreground detail. The drifting, flowing nature of the wet paint on wet paper contrasts wonderfully with the later addition of dryer strokes.

What amazed me was how quickly this big landscape appeared – from start to finish in around fifteen/twenty minutes. I included my pencil case in this photo to give you an indication of the scale of this work.
This was an excellent opportunity to see an artist at work and to learn from him, thanks Matt.